product photo to ad generator
Turn a product photo into ads
You already have the photo. Drop it in and Product AdKit builds the ad around it — headline, offer, CTA, and layout — in a handful of variations grouped by why someone would buy.
Your first previews come back full-quality and view-only so you can judge the layouts for free. Unlock the pack only once a version is worth running, for high-res, no-watermark files and the feed and story sizes you'll actually post.
Examples
Turn a product photo into ads examples
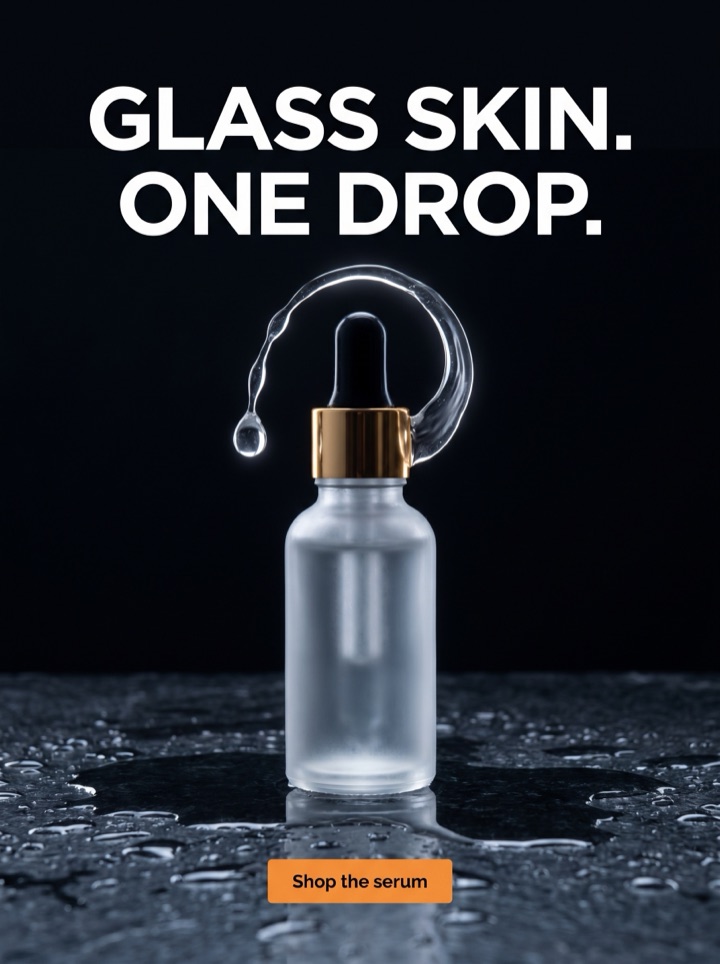
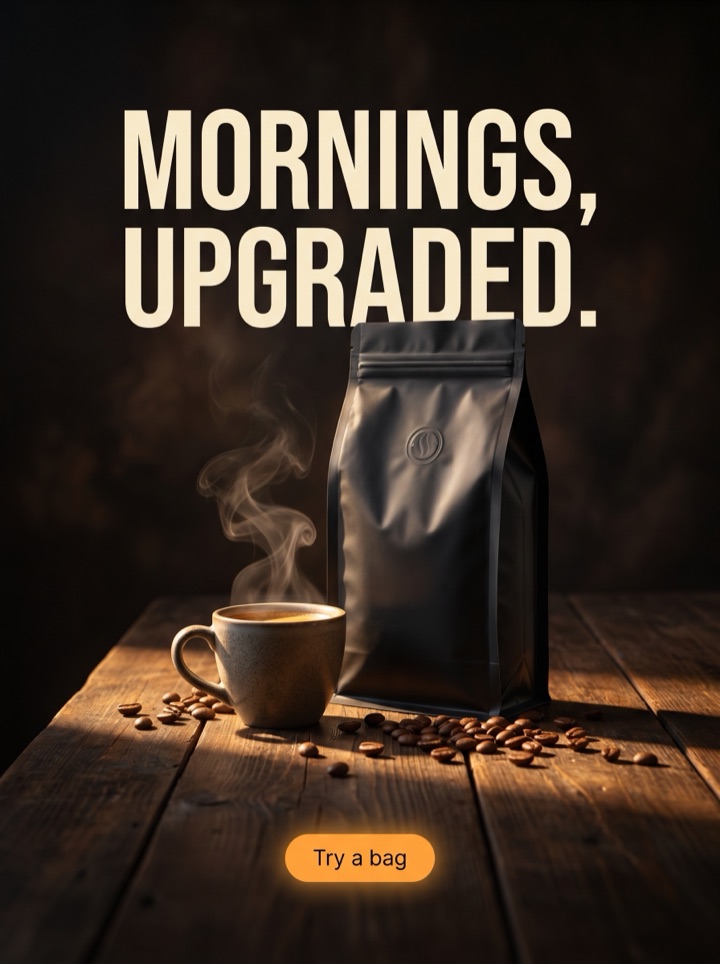
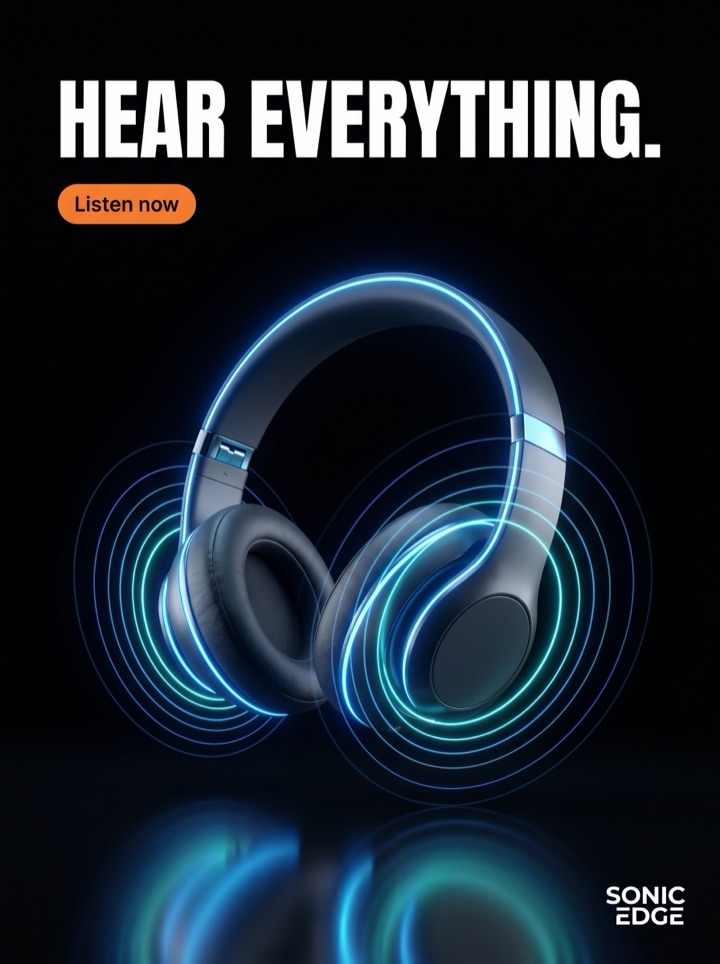
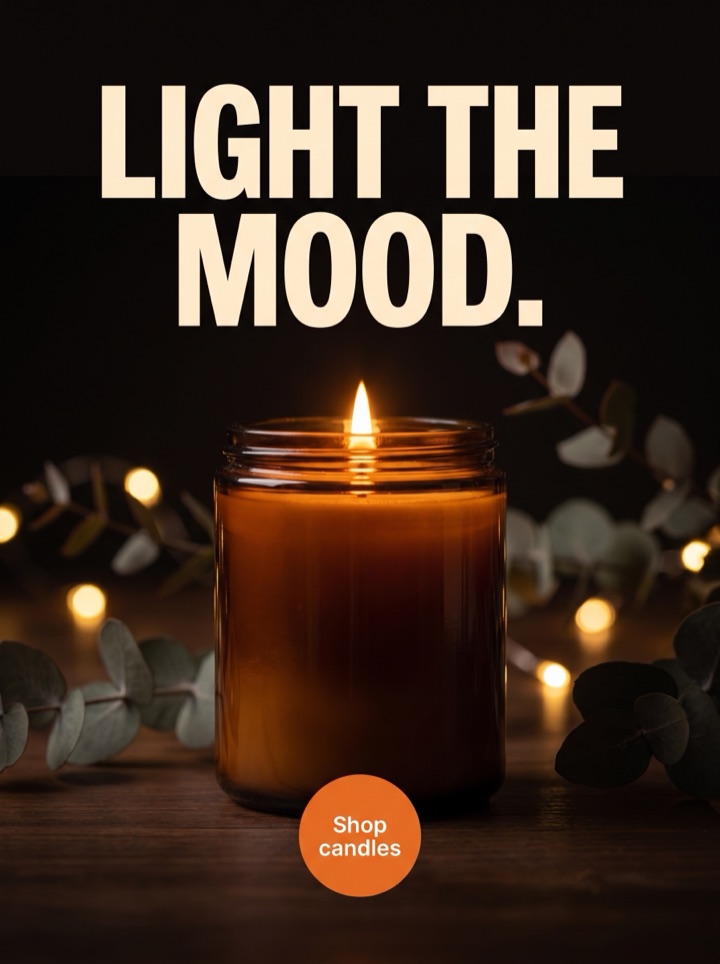
Each example below started as a single product photo. Notice how the same image is rebuilt into different ads — the product stays the hero, but the headline, offer, and crop change to fit a different reason to buy.


Campaign brief
What to bring, what you'll leave with
This tool assumes one thing: you have a product photo and no ad yet. Here is how to get the most out of that single image before you upload it.
The one input
A single product photo is the whole brief. You don't need brand guidelines, a design file, or copy written in advance — the photo is what the layouts are built around.
Pick the right shot
Choose the cleanest photo you have: product in focus, even light, simple background, and a little breathing room around the edges for a headline and button to sit.
One detail that sells
If the product has a texture, label, finish, or ingredient worth seeing, choose the photo that shows it. That detail becomes the visual proof instead of a generic badge.
Your first test
From that one photo, run a launch version against a sale version and a proof version. Keep the crop steady so you're testing the message, not the framing.
Where it goes
The same photo can become a square feed ad, a 4:5, or a 9:16 story. Start with the placement you actually run, then add sizes once the message holds up small.
What you walk away with
A short set of ready-to-run ad posters built from your image, each one tied to a different reason to click — not one template with the headline swapped.
How it works
From upload to ad in four steps.
1
Upload the photo
Drag in one product image from your phone or desktop. No store connection, no design file, no template to pick first.
2
It reads the product
The generator places your product as the hero and builds layouts that leave room for a headline, an offer, and a CTA around it.
3
Compare the angles
You get view-only previews split by buying reason — launch, sale, proof, premium — so you can see which message suits the product.
4
Steer, then export
Regenerate until the headline and CTA match your product page, then unlock high-res, no-watermark files once a version is worth running.
Examples
From one photo to a set of ads
The reason one photo is enough is that it doesn't stay one ad. The same image is rebuilt into these angles so your first test compares messages, not just colors.
Field notes
Getting more out of one photo
The quality of the ad is mostly decided by the photo you feed it. These are the notes we'd give a founder before they upload.
Creative review
- The cleaner the product reads on its own, the better every layout looks. A crisp shot on a plain background beats a busy lifestyle scene the generator has to work around.
- Leave headroom. A photo where the product fills the entire frame gives the headline and CTA nowhere to live; a little negative space goes a long way.
- If you have more than one photo, the straight-on hero shot usually wins for a feed ad. Save the detail or in-use shots for a proof or before-and-after angle.
- Shoot or pick at the highest resolution you have. You can always crop down for a story, but you can't add detail back for a high-res export.
Placement review
- Look at each ad at phone size, not desktop. A benefit line that reads fine on your laptop often vanishes once it's a thumbnail in feed.
- Keep one version calm and premium, one direct and promotional, one proof-heavy. That contrast is what makes the first test actually teach you something.
- Check that the product is still the biggest thing on screen. If the background or badge is louder than the product, the layout has drifted off-brief.
Export review
- Ask whether the headline could only belong to this product. If it would fit any product in the category, it's still generic.
- Unlock the pack when at least two previews show a genuinely different buying reason — not the same frame with a swapped line.
- Don't let the ad promise something your product page can't back up. The ad should speed the click, not set up a letdown after it.
Sizes and exports
One photo, the sizes you actually run
The same uploaded photo is re-cropped to each placement so the product stays centered and the copy keeps its room. Static posters are live today; display and HTML5 exports stay labeled as agency or roadmap until enabled.
1:1 square
The safe default. Your photo, a hook, and a CTA in a balanced frame that works across feed placements without re-cropping.
4:5 feed
Gives a tall product a little more vertical room while still sitting in the feed — useful when the square crop cuts the product too close.
9:16 story/reels
The same photo re-cropped for full-screen mobile, with the product up top and the CTA pinned low so a thumb can reach it.
High-res export
When a version is worth running, unlock the no-watermark, high-resolution file. ZIP packs and display sizes follow on paid and roadmap tiers.
A blank-canvas tool hands you an empty artboard and your photo and wishes you luck. This starts from the opposite end: the product photo is the input, and a set of laid-out ads — product placed, hook written, CTA in place — is the output. You're choosing between real ads, not building one from zero.
Copy examples
Hooks and CTAs to try on your photo.
Headline hooks
- "You've seen the product. Here's the offer."
- "Photographed once. Worth a second look."
- "The detail the listing photo doesn't show."
- "New drop. Same product you already love."
- "Why people keep reordering this one."
- "Made better. Here's the proof, not a promise."
- "On sale this week — while it's in stock."
- "Everything the photo is trying to tell you."
CTA examples
- Shop the photo
- See it in your size
- Get it before it's gone
- Read the reviews
- Add to cart
Common mistakes
- Uploading a busy lifestyle photo when a clean product shot would give the layout room to breathe.
- Picking a low-res image, then being disappointed the high-res export looks soft.
- Letting a discount badge or background grow louder than the product itself.
- Running one ad instead of comparing a launch, a sale, and a proof angle from the same photo.
- Writing a headline that would fit any product in the category instead of this exact one.
Examples
From one photo to a set of ads
Run each generated ad past these five questions before you spend money sending traffic to it.
1
Is the product still the first and biggest thing your eye lands on after the crop?
2
Does the headline say something that's only true of this product, not the whole category?
3
Can you read the benefit line and the CTA at phone size, not just on your laptop?
4
Does the ad's promise match what the shopper finds when they land on the product page?
5
Do your two or three versions actually test different reasons to buy, or the same one twice?
FAQ
Turn a product photo into ads questions
What kind of product photo works best as the starting image?
A sharp, well-lit shot of the product against a clean or simple background works best. The generator builds the ad around your photo, so the more clearly the product reads on its own, the stronger the layouts. Phone photos are fine if the product is in focus and you have a little empty space around it for headlines and a CTA.
Do I need a Shopify store to turn a photo into ads?
No. The whole point of this page is that you start from a single product image, not a store connection. Upload the photo and you get ad variations without linking Shopify or any platform.
Why does one photo produce several different ads?
Product AdKit groups the output by buying angle, not by random template. From one photo you get a launch version, a sale or urgency version, a social-proof version, and a premium version, so your first test compares real reasons to buy instead of the same layout with a swapped headline.
Can I change the headline and CTA after the ad is generated?
Not in place — each ad is a finished image with the headline and CTA baked in. You shape the copy up front: set the direction, offer, and a reference before you generate, then regenerate or make more like the ones that work. Free previews are full-quality and view-only; paid packs unlock high-res, no-watermark exports and ZIP downloads.
Related tools